 |
Wolfgang Dudlera new car for the narrow gauge roster |
 |
... and more work:
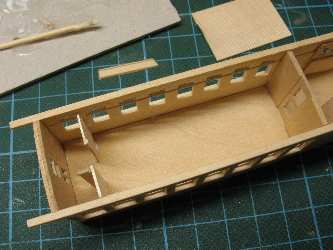
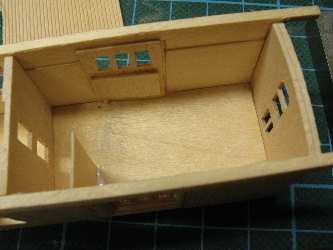
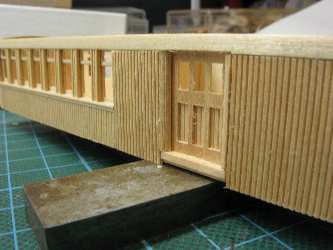
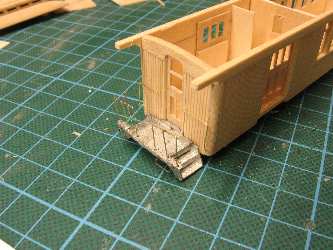
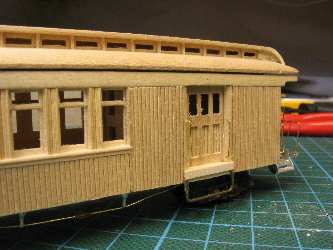
The instruction has only a drawing for interior. And one drawing shows that in one corner there's a stove but no window. What to do? I've asked at the Narrow Gauge Discussion Forum and got some answers. I decided to close this window like you see in the pictures far down. Also in the instruction for the baggage door is written "Cut to length sill strip (27) and cement in place". I could not find such a piece of wood. So I've used red colored strip wood (1/16 x 1/32).
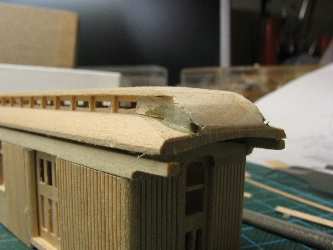
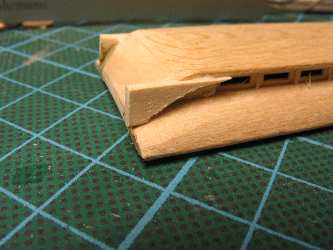
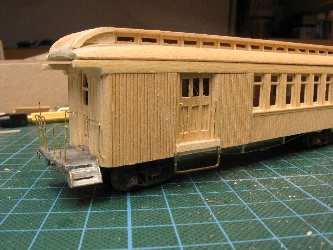
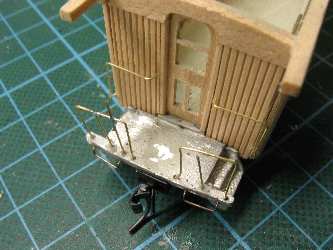
To get the roof into the desired form I have to improvise a bit. For the end platform castings I drilled at first the holes. There're pits for the wires already. I've sanded the top of the queen posts and made a fine cut with a saw. Then I've glued these parts with CA to the body.
For the railings I've used Friedhelm's car as example.

I've worked with the step castings, removing flash and sanding to suit. I've already drilled the holes for the railings and stir ups. The roof becomes a step by step work.
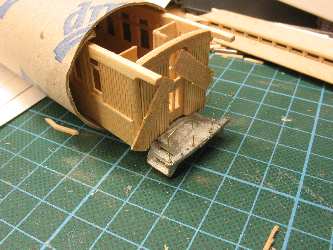
I've made a template for the stir up irons and bent four pieces. For the end railings I used the drawing in the instructions. Those familiar tube holds the car when you work with the end. They work as handle for painting cars too. I've in my basement a few rolls at different places, I use the loo paper for cleaning the airbrush, glue ...
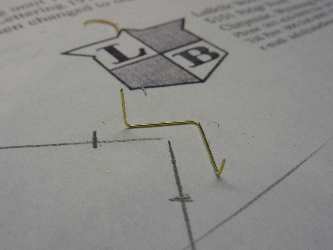
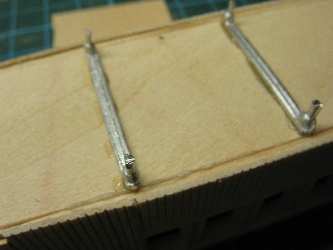
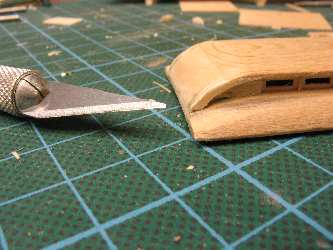
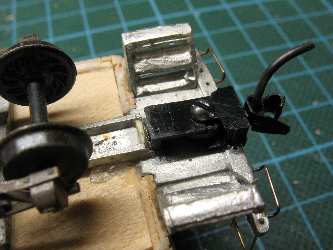
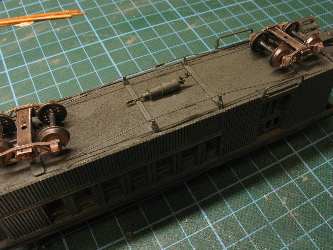
I've carved - with a new blade - the roof ends now. The baggage door has also got its railings. The stir up is made from a 0,8mm brass wire where I've flatened the ends and glued it with CA to the body. Truss rods: I've drilled holes into the floor and glued the rods from hole to hole, don't forget the turnbuckles. I glued the rods not to the queen posts now. This comes next day when the rods are fastened. This way you get a straight rod. You just lift the rods up to the queen posts and a drop of glue will do it.
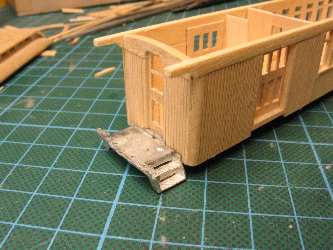
I've installed the coupler. At first removed the two webs. I drilled a 1,1mm hole and then I cut the thread with the screw. Those material from the platform castings is soft. I fastened the coupler with the screw. I cut most of the screw and filed it smooth with the platform.
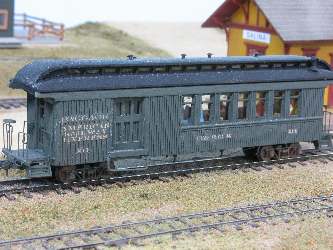
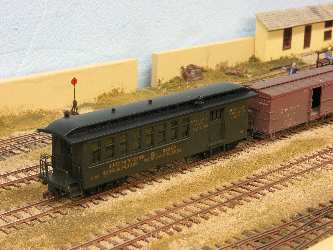
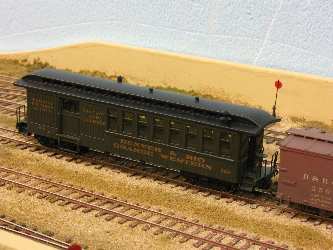
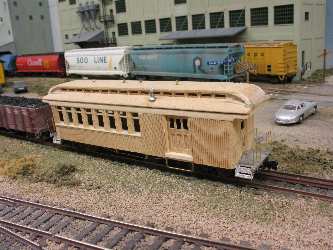
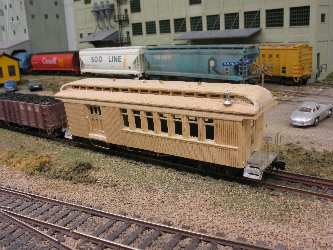
Here're pictures from the finished kit. And promt I recognized
I have to replace the baggage door stir up.

Next step - painting and weight! What's the paint of the interior?
Well, I've painted the interior a yellow and in the baggage room grey color. The car got a Pullman Green and the roof black.
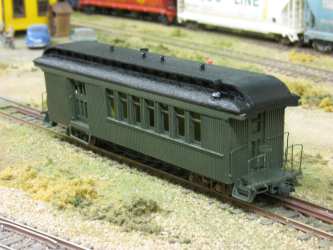
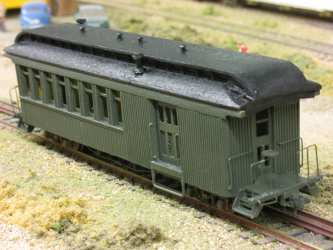
Next day I airbrushed the car with gloss. Now I can add lettering. It should be car number 214. But the set HOn3-21-CD for D&RGW Open Platform Combine from LaBelle has only 212 and 215 and no BAGGAGE AND EXPRESS and RAILWAY EXPRESS AGENCY text.
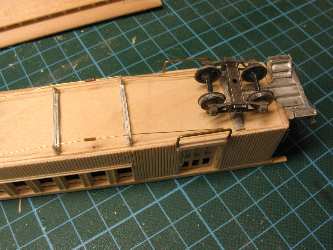
There're not many details under the floor. There was only one part for underbody detailing. You will not miss this in the usual movements. And I do not intend to turn over the car in heavy crashes! Trucks are from Kadee as well as couplers.
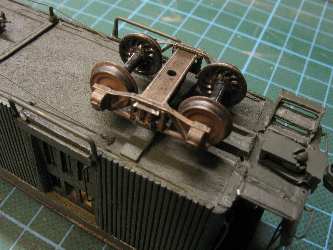
Now I need the Blackstone passenger trucks.