 |
Oct
12 , 2011 |
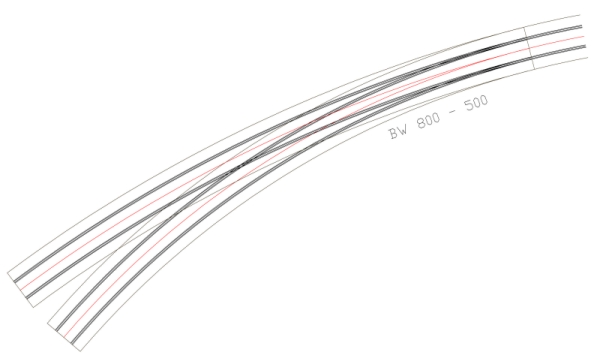
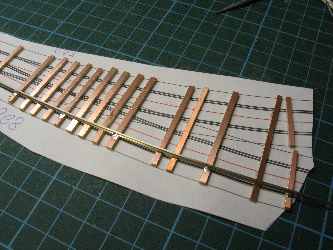
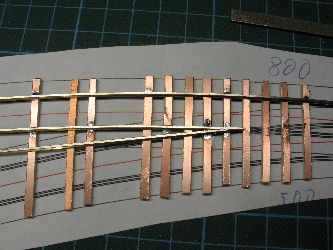
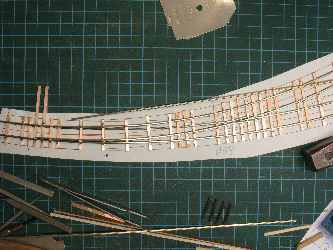
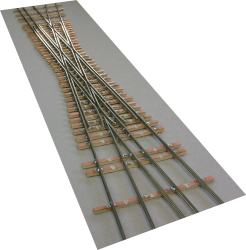
There’re a lot of different turnouts commercially available. But if you want special turnouts or you’re into narrow gauge there’re only a few manufacturers like Railway Engineering, Cream City Turnouts. Or you can scratch build your own turnouts. That’s a lot cheaper and fun! Joe Fugate shows the use of Central Valley ties as jig to make a turnout. But sometimes you need a special turnout. You start every turnout with a drawing. For special turnouts you have to make your own drawing. Most standard turnouts have drawings in the internet, like Fast Tracks . I very strongly recommend to view the FastTracked Turnout Video. For this example I wanted a H0n3 code 55 curved turnout. From the layout plan I needed an inner radius – my minimum radius – of 500 mm. The red lines are the center lines. These are the lines you really need. All other lines are only for faster working. For standard turnouts I use the templates from Fast Track.
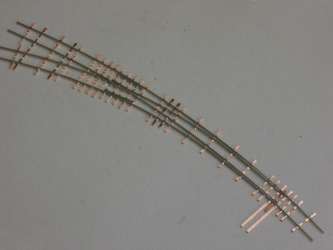
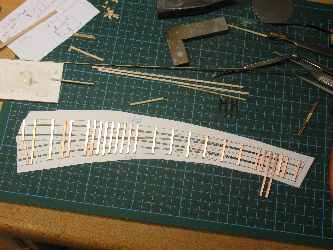
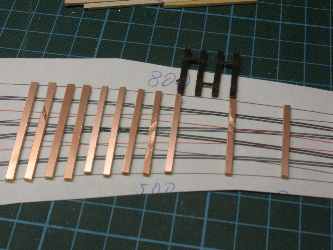
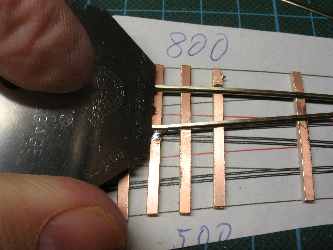
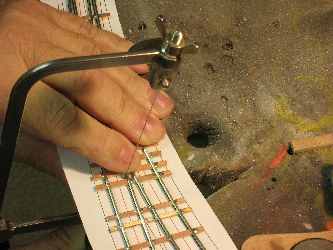
At first you have to get some ties. You can buy them e.g. at Fast Tracks - or make them like me.
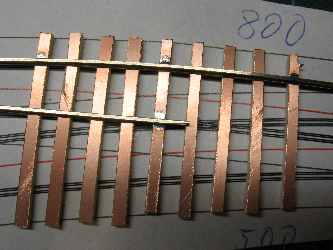
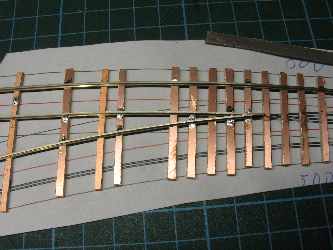
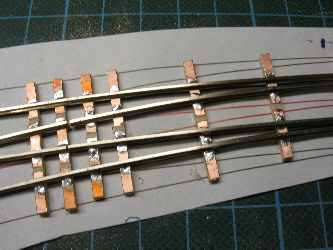
I printed the template and glued PC board ties to the template ( on a flat surface like a glass pane ). I’ve glued about every sixth tie, a few more at the throw bar and at the frog. The other ties, wooden ties will be later inserted.
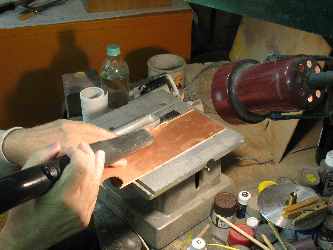
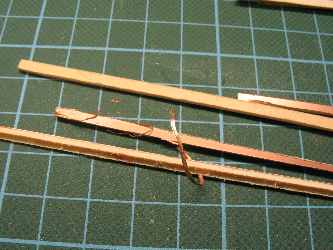
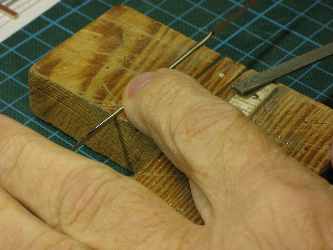
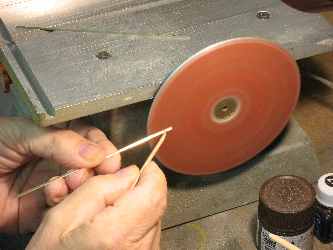
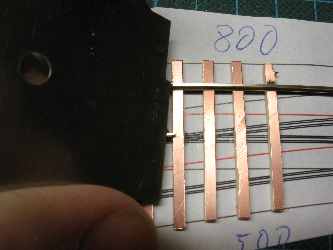
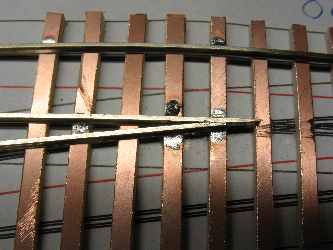
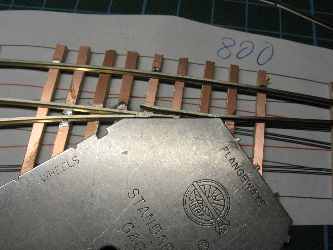
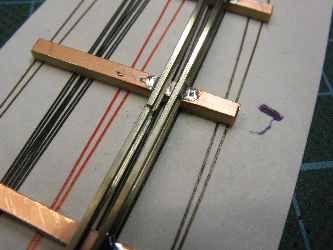
You need the NMRA gauge and some tools like files and soldering iron. I use intensive a bench circular saw from Böhler I’ve bought many years ago. With this tool I make the frogs and points. Let’s start with soldering. Usually I start with the outer (usual straight) stock rail. With the grinding disk I remove the base of the rail for the point section. Then I solder the rail at a few ties.
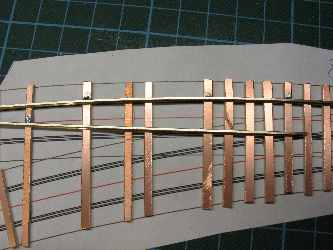
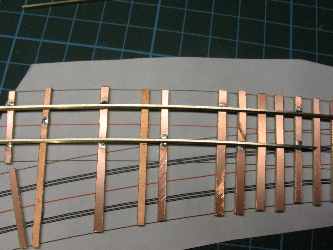
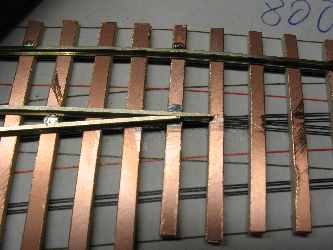
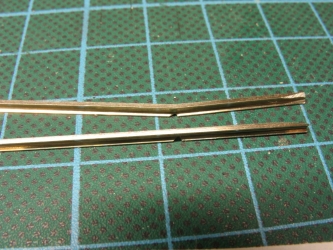
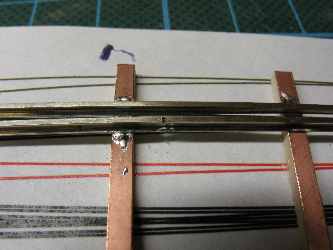
With this rail I have a base and I use the NMRA gauge to check from this base. The next rail is the frog rail. I’ve sanded the frog angle and the rail base where the other frog rail connects.
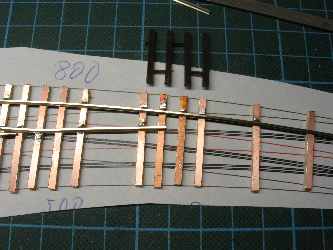
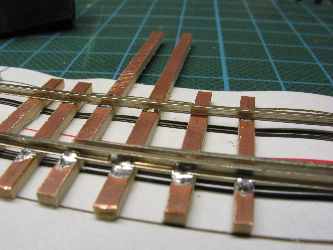
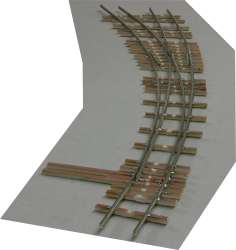
And the video shows more details, like connecting the throw bar and points. Now the guard rails and finished:
And all together in a video:
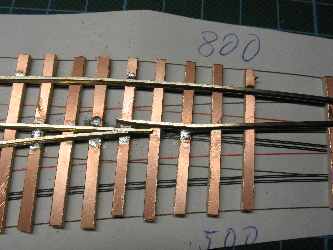
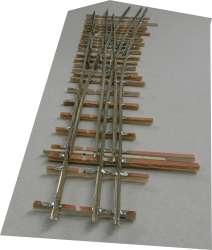
This HowTo works for a dual gauge #8 turnout,
too. Start with a straight rail and work from frog to point, always
with this first rail as reference. And even a crossing is no problem,
it takes only some time.
SCRATCH BUILDING IS FUN |